A leaky faucet can be a nuisance, leading to wasted water and increased utility bills. Fortunately, fixing a leaky faucet doesn’t always require professional help. With some basic tools and a little guidance, you can tackle this common plumbing issue on your own. This guide will take you through the process of leaky faucet repair , empowering you to save money while maintaining your home. Whether you have a compression, cartridge, ball, or ceramic disk faucet, the steps to repair them are generally similar, allowing you to take control of your plumbing needs.
Understanding the Causes of a Leaky Faucet
Before diving into the repair process, it’s essential to understand the potential causes of a leaky faucet. A leak typically arises from worn-out components, which can include O-rings, washers, or seals. Over time, these parts can degrade due to constant use and pressure, leading to water seeping from the faucet. In some cases, the faucet may be improperly installed or subjected to excessive wear and tear.
Additionally, mineral buildup from hard water can contribute to leaks, as it may create pressure points that lead to deterioration. Identifying the type of faucet you have is also crucial, as the repair techniques may vary based on the faucet’s design. By understanding these factors, you can address the root cause of the leak effectively.
Gathering the Necessary Tools
Before starting the leaky faucet repair, you will need to gather some essential tools. Having the right tools at your disposal will make the process smoother and more efficient. The primary tools required include:
- Adjustable wrench: This will help you loosen and tighten nuts and bolts without damaging the faucet.
- Screwdriver: Both flathead and Phillips screwdrivers may be needed to remove screws holding the faucet together.
- Replacement parts: Depending on the type of faucet you have, you may need O-rings, washers, or cartridges. It’s a good idea to take the old parts to a hardware store to find exact matches.
- Plumber’s grease: This will help lubricate O-rings and other components, ensuring a proper seal and smooth operation.
With your tools in hand, you are ready to start the repair process.
Step-by-Step Guide to Fixing a Leaky Faucet
Step 1: Turn Off the Water Supply
The first step in any plumbing repair is to turn off the water supply. Look for the shut-off valves under the sink and turn them clockwise to close them. If there are no individual shut-off valves, you may need to turn off the main water supply for your home. Once the water is turned off, open the faucet to release any remaining water in the lines.
Step 2: Plug the Drain
To prevent any small parts from falling down the drain during the repair, use a sink plug or a rag to cover the drain. This will ensure that you don’t lose any screws or components while working on the faucet.
Step 3: Disassemble the Faucet
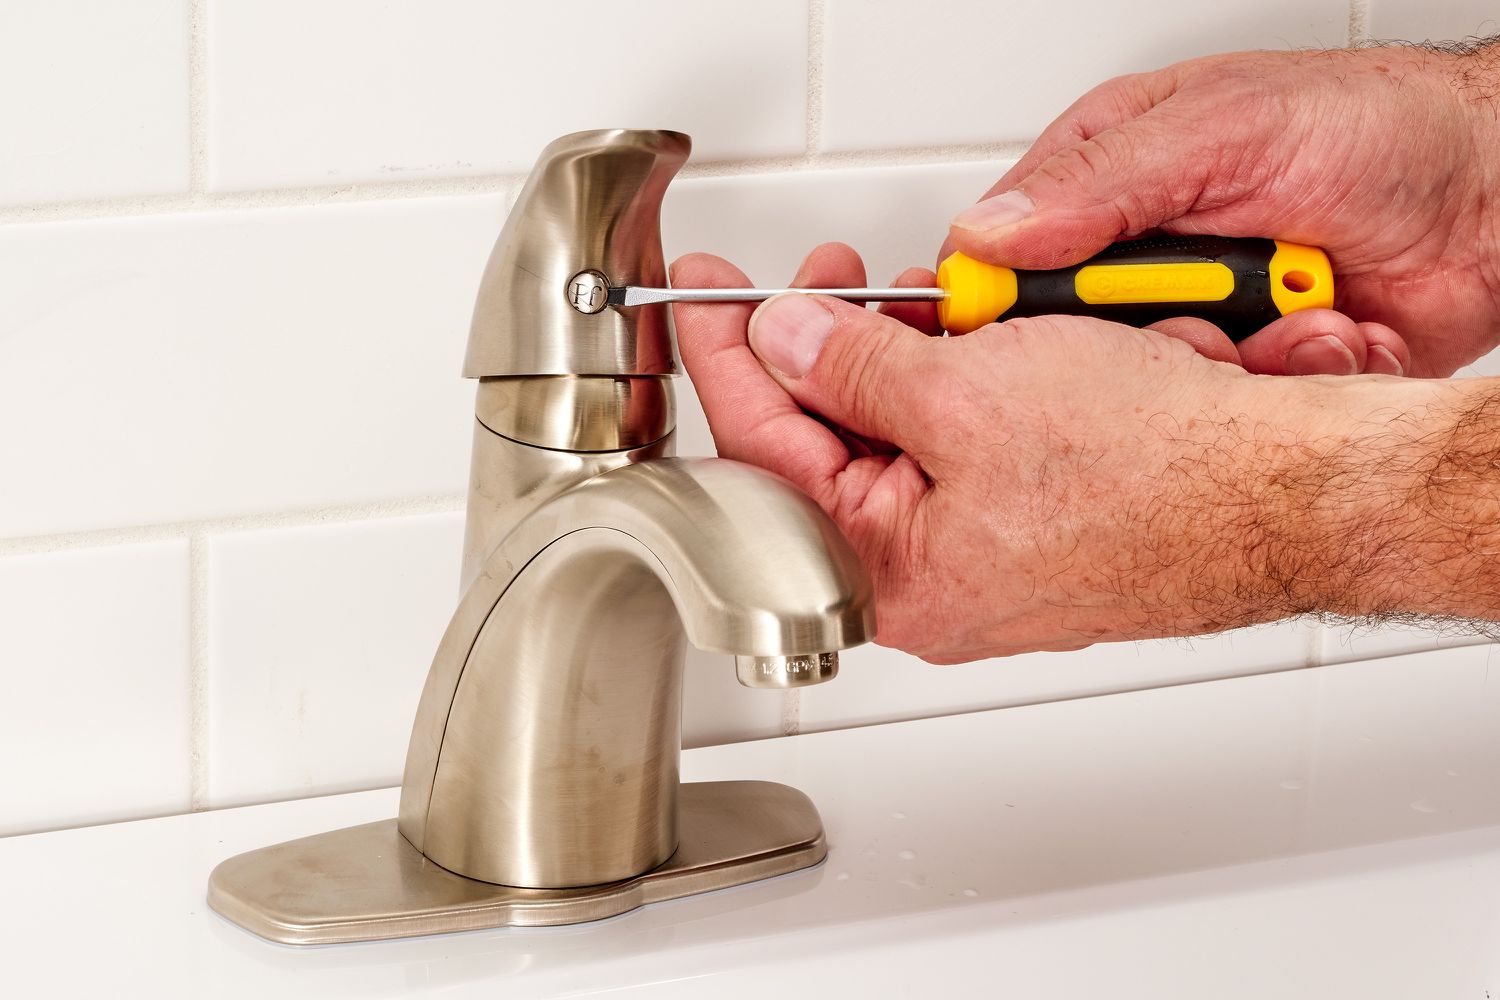
Begin disassembling the faucet to access the internal components. Start by removing any decorative caps or covers to expose the screws. Depending on the faucet type, you may need to remove handles or other components. Use the appropriate screwdriver to remove the screws and keep them in a safe place. Take note of how the faucet is assembled, as you will need to reassemble it later.
Step 4: Inspect the Components
Once you have disassembled the faucet, inspect the various components for signs of wear or damage. Look closely at the O-rings, washers, and seals. If you notice any cracks, tears, or significant wear, these parts will need to be replaced. Remember that the replacement parts should match the original components closely.
Step 5: Replace the Worn Parts
If you need to replace any components, carefully remove the damaged parts and install the new ones. Apply a small amount of plumber’s grease to the O-rings and seals to help create a watertight seal. This will also make it easier to reassemble the faucet later.
Step 6: Reassemble the Faucet
After replacing any necessary parts, carefully reassemble the faucet. Follow the order in which you disassembled it, making sure to tighten all screws securely. Be careful not to overtighten, as this can cause damage to the components or create new leaks.
Step 7: Turn On the Water Supply
Once the faucet is reassembled, it’s time to turn the water supply back on. If you turned off individual shut-off valves, open them slowly to allow water to flow back into the faucet. If you turned off the main water supply, do the same when turning it back on.
Step 8: Test for Leaks
With the water supply restored, turn on the faucet and check for any leaks. Let the water run for a minute or two and closely examine the area around the faucet and any joints. If you see any leaks, you may need to disassemble the faucet again and check that all components are installed correctly.
Conclusion
Fixing a leaky faucet is a manageable task for most homeowners, and it can save you both time and money. By understanding the causes of the leak and following a systematic approach to leaky faucet repair, you can restore your faucet to proper working condition. Not only will you stop wasting water, but you’ll also contribute to a more efficient home. Whether you choose to tackle this repair yourself or consider professional help in the future, the knowledge you’ve gained will empower you to maintain your plumbing effectively. Regular maintenance and prompt repairs can help you avoid more significant plumbing issues down the line, making your home a more comfortable and efficient place to live.
